Fast read
Wiring a light switch in Australia requires a licensed electrician because of the high risks involved. However, understanding the process can be helpful:
- Turn Off Power: Ensure safety by turning off the power at the meter box.
- Open Switch Cover: Use a screwdriver, then test for no current flow.
- Remove the Switch: Detach and inspect the wires.
- Check End-Wires: Strip insulation if necessary.
- Connect Wires: Match wires correctly and secure with screws.
- Secure Connection: Use a wire nut for exposed wires.
- Mount the Switch: Align, tighten, and reattach the cover.
- Turn Power On: Test the switch.
Always hire a licensed electrician for safety and compliance.
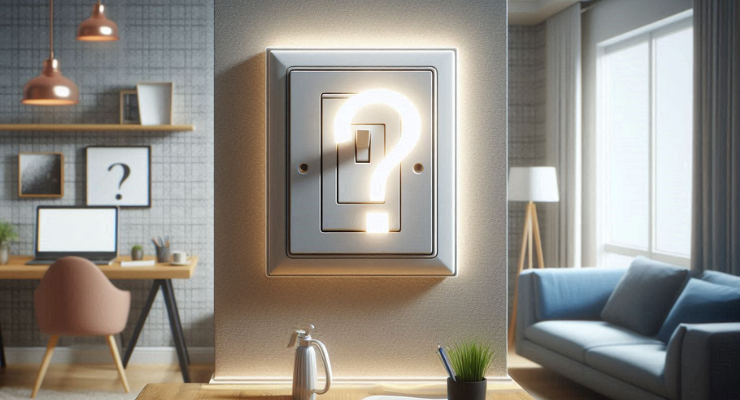
How to Wire a Light Switch: A Comprehensive Guide
If you’re interested in understanding how to wire a light switch, you’re in the right place. While it’s important to note that in Australia, only a licensed electrician (sparkie) is legally allowed to perform electrical work, having knowledge about the process can be useful for general understanding. This article will guide you through the steps of wiring a light switch, providing detailed instructions and important safety information.
Understanding the Risks and Legalities
Before we dive into the steps, it’s crucial to understand why DIY electrical work is generally prohibited. Electrical wiring involves significant risks, including the potential for severe injury or death from electric shocks and the possibility of starting a fire. Additionally, performing unauthorised electrical work can void your home insurance policy. Therefore, it is always recommended to hire a licensed electrician to handle any electrical work in your home.
How to Wire a Light Switch
Despite the risks and legal restrictions, understanding the process can satisfy your curiosity and help you communicate better with your electrician. Here’s a step-by-step guide on how to wire a light switch:
1. Turn Off the Power
Safety is the top priority when working with electricity. Start by turning off the power at the meter box. This step is essential to prevent electric shock while working on the wiring.
2. Open the Switch Cover
Use a screwdriver to remove the switch cover. Before proceeding, use a voltage tester to ensure there is no current flowing through the wires. This step confirms that the power is truly off and that it is safe to proceed.
3. Remove the Switch
Carefully detach the switch from the wires. Inspect the existing wiring for any faults or damage. If everything looks intact, you can proceed to the next step.
4. Check the End-Wires
Ensure that the exposed end wires are long enough to connect to the new switch. If they are too short, you will need to strip some of the insulation to expose a bit more wire.
5. Connect the Wires
Be aware of the difference between Australia’s old wiring colour standards and the latest standards to ensure correct matching. Secure the connections by tightening the screws.
6. Secure the Connection
If there are any exposed wires, secure them with a twist-on wire nut. This step helps to ensure that the wires do not come loose and create a hazard.
7. Mount the Switch
Carefully push the switch into the box, aligning it with the screw holes and tighten the plate against the wall and reattach the cover. Ensure everything is securely in place.
8. Turn the Power Back On
Double-check all the steps, and if everything looks correct, turn the power back on. Test the switch to ensure it is functioning properly.

Types of Light Switches
When selecting light switches, there are several types available to suit your needs:
Single-Pole Light Switch
This is the most common type of light switch, with two terminals. It controls a light fixture from a single location and requires a neutral and hot wire.
Double-Pole Light Switch
A double-pole light switch has four terminals and allows you to control a light from two different locations. This setup is useful for larger rooms or hallways.
Dimmer Switches
Dimmer switches give you control over the brightness of the light, allowing you to adjust the light output instead of just turning it on or off. Common types include rotary and slider dimmer light switches.
Smart Light Switches
Smart light switches can be controlled wirelessly and offer advanced features like setting schedules, automation, and remote control via an app. These switches integrate with home automation systems, providing convenience and energy efficiency.
Conclusion
While the process of wiring a light switch may seem straightforward, it is fraught with risks that make DIY electrical work a dangerous endeavour. In Australia, only licensed electricians are permitted to perform such tasks because of the high stakes involved. Understanding how to wire a light switch can be useful for knowledge and communication with professionals, but always prioritise safety and legality by hiring a qualified electrician for any electrical work in your home.
By following these guidelines, you can ensure that your home remains safe and compliant with Australian regulations. Remember, the best approach to any electrical issue is to leave it to the professionals, ensuring peace of mind and safety for you and your family.