Fast read
The total timeline for a battery-only installation in Australia, from signing the contract to having a fully operational system, typically ranges from a few weeks to three months. While the physical installation is often completed in just one to two days, the overall process is heavily influenced by administrative stages like grid connection approvals, equipment availability, and installer scheduling.
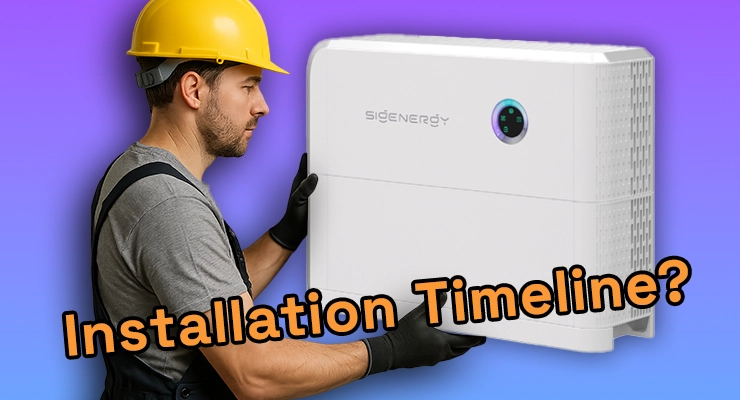
What is the typical installation timeline for a battery-only system?
Deciding to add a battery to your home is an exciting step towards greater energy independence. A common question we hear at Your Energy Answers is about the time it takes from saying “yes” to having a working battery. While the on-site work is surprisingly quick, the full process involves several crucial steps that each have their own timeline.
Understanding this journey from start to finish helps you plan effectively and sets realistic expectations. Let’s walk through the typical phases of a battery-only installation in Australia.
Phase 1: Consultation, site assessment, and quote (1-2 weeks)
The first step is a detailed discussion with an accredited installer. During this phase, the installer will:
- Analyse your energy usage: They’ll look at your power bills and consumption patterns to recommend a battery size that matches your needs.
- Assess your existing setup: For a battery-only install, they need to check your current switchboard and, if you have one, your solar inverter’s compatibility. Some older solar systems may need a new “hybrid” inverter that can manage both solar panels and a battery, or a separate “battery inverter” will be added.
- Identify a suitable location: Installers must follow strict Australian safety standards, like AS/NZS 5139, which governs battery placement. Batteries cannot be installed in habitable rooms, ceiling spaces, or under stairwells. A garage or a shaded external wall is a common and compliant location.
Following this assessment, you will receive a formal quote detailing the proposed system, costs, and performance estimates.
Phase 2: Approvals and paperwork (2-8 weeks)
This is often the longest part of the process and the one most out of the installer’s direct control. Before any physical work can begin, your installer must secure written approval to connect the battery to the grid from your local Distribution Network Service Provider (DNSP), such as Ausgrid in NSW or Powercor in Victoria.
The time this takes can vary significantly between different distributors and states. Some applications are approved automatically within days, while more complex ones or those in congested grid areas may require a more detailed technical assessment and take several weeks. Your installer will handle this paperwork on your behalf.
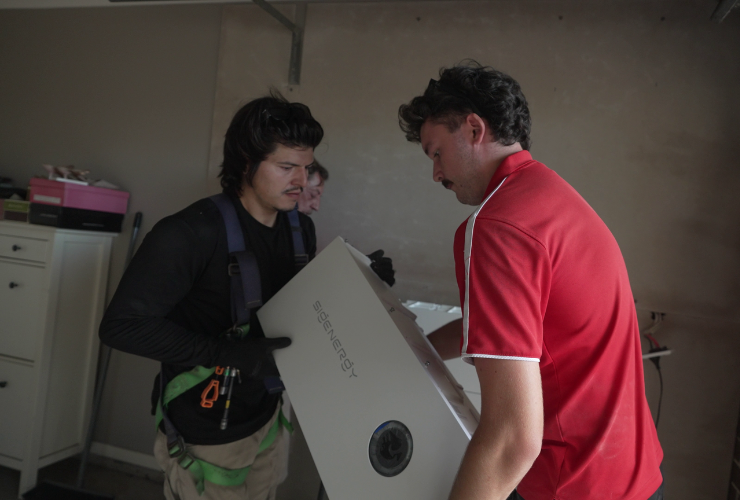
Phase 3: The installation day (1-2 days)
Once approvals are in place and the equipment has arrived, the physical installation can be scheduled. For a straightforward battery-only addition, the work is often completed within a single day. More complex jobs, such as those requiring a significant switchboard upgrade, might extend into a second day.
On the day, the accredited installation team will:
- Mount the battery unit securely in the approved location.
- Install the battery inverter (if required) and any other components.
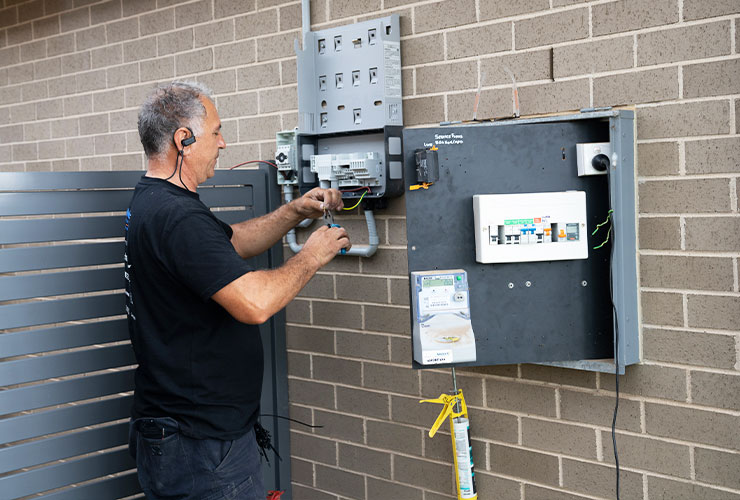
- Complete all necessary electrical wiring to connect the battery to your switchboard and the grid, adhering to the AS/NZS 3000 Wiring Rules.
- Temporarily shut down your power for a period to safely complete the final connections.
Phase 4: Commissioning and handover (same day as installation)
After the physical installation is complete, the system isn’t quite ready to go. The installer must perform a crucial final step known as commissioning. This involves testing the battery to ensure it charges and discharges correctly, verifying all connections are safe, and configuring the monitoring software or app.
The installer will then provide a full handover, showing you how to read the system’s display, understand the monitoring app, and perform a safe shutdown if ever needed. They must also provide you with a pack of documents, including manuals, warranties, and a Certificate of Electrical Safety.
What factors can delay the installation timeline?
While the process is generally smooth, certain factors can extend the timeline:
- DNSP Approval Delays: This is the most common variable. New, stricter compliance checks introduced in recent years can sometimes lengthen the approval process.
- Equipment Availability: Popular battery models can occasionally have supply chain delays. Booking your installation outside of the peak summer rush can sometimes help avoid this.
- Installer Scheduling: Reputable installers are often booked weeks or even months in advance, especially during peak seasons like spring and early summer.
- Complex Installations: If your home has old wiring or requires a full switchboard rebuild, this will add time and cost to the project.
Your next step
The journey to installing a home battery is a well-defined process, with the most significant variable being the grid connection approval time. By working with a reputable installer accredited by Solar Accreditation Australia (SAA) and ensuring they use products approved by the Clean Energy Council (CEC), you can ensure every step is handled professionally, safely, and is eligible for government incentives.
If you’re considering a battery and want to get a clearer picture for your specific property, the next logical step is to start the conversation. At Your Energy Answers, we can connect you with trusted, local installers who can provide a detailed assessment and a tailored timeline based on your home and location.